During our bike touring adventures, two of the people we communicated most with were Tara and Tyler – another couple also going around the world at roughly the same time.
We’ve yet to meet them in person but always kept in touch and helped each other out with information as we travelled. One of the things that impressed us most about their trip was the inventive and delicious food that Tara would cook on tour, so we weren’t at all surprised when she published a bike touring cookbook after arriving home.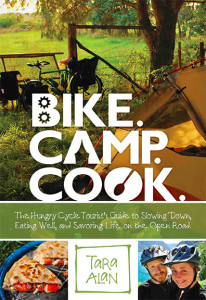
Bike. Camp. Cook. is a gem of a book – full of easy, inspiring recipes, clear instructions and beautiful photographs. If you like to cook and are embarking on a bike tour, we highly recommend it.
Recently we caught up with Tara and asked her to tell us more about her love of cooking and cycling.
1. Tell us a bit about yourself. How did you come to write this cookbook? What inspired it?
I am a writer and photographer living on fledgling homestead in the Green Mountain National Forest of Vermont.
A few years ago, my partner Tyler and I embarked on a two-year, mostly-bicycle-powered tour across Europe, parts of Northern Africa, and Asia. Prior to this adventure, I’d camped only a handful of times, and had never ridden a bike more than a few miles.
I was, however, an accomplished cook, baker, and avid foodie. While we were on the road, I prepared real meals for us nearly every day. For me, cooking was a way of connecting with the places we traveled: we frequently stopped at local markets, and I tried to use local, seasonal ingredients in all of my dishes.
The idea for the cookbook came early on. A few months into the trip, I’d finally gotten the hang of cooking on the road, and it seemed like the people we met were impressed by it. What I considered to be normal activities—whipping up dumplings for homemade soup, or making jam with foraged fruit, for instance—were actually fairly unusual.
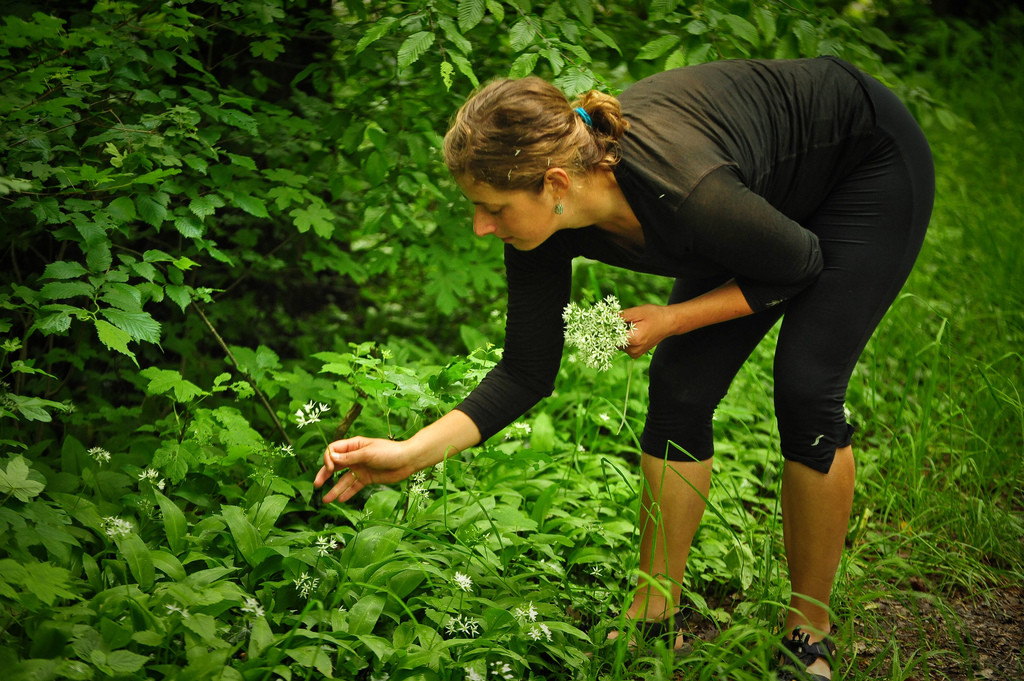
Tara picking wild garlic.
Since I was not a cyclist, camper, or outdoorswoman when we left, I didn’t really have a sense of how other people ate on tour. I didn’t realize that folks subsisted on oatmeal, peanut butter, bananas, and bread. I knew nothing of those just-add-water packets either!
So, bolstered by folks’ interest in my culinary adventures, and inspired to share all the tricks and techniques I’d learned, I began writing the cookbook in earnest after finishing our trip.
2. You say the book is the “hungry cycle tourist’s guide to slowing down, eating well, and savouring life on the open road”. Why is it so important to slow down and eat well? Plenty of bike tourists cover 100km a day and survive on peanut butter sandwiches.
I know that many people feel a deep sense of accomplishment when riding long distances on tour. There is nothing bad or wrong with this, but do I think it is important to recognise the tradeoffs that follow this style of travel.
You captured my objection right in your question, saying, “Plenty of bike tourists cover 100km a day and survive on peanut butter sandwiches.” The key word there is ‘survive’. For me, the idea of bare survival on tour is not appealing.
I love riding, but you will never find me pushing to go further for the sake of mileage—that’s the antithesis of everything I love about bike touring. If I couldn’t stop regularly to interact with the people and landscape I’m passing through, I wouldn’t bother going at all.

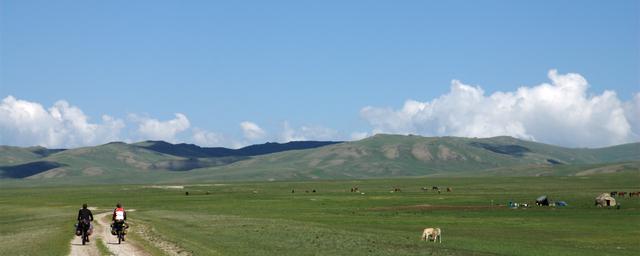
Tara exploring local markets during a bike tour.
I know some find their passion in the riding itself, but I do not. I believe something very special is lost when we go too quickly and don’t take time to really be in a place.
To go on a little tangent, I think the most rewarding thing about writing this book has been receiving emails from folks who’ve used it on tour. Often, they’re single guys who rack up a TON of kilometers, and have, historically, eaten really poorly. They proudly send me pictures of their latest adventures with my recipes, and I beam with pride. My secret wish is to convert all the bread-and-banana-eating-speed-demons into slow-pedaling gourmands. Ha!
3. Were you always a good cook, or does this book represent an evolution in your culinary skills? Could anyone cook the recipes in this book, even if they’re not a natural chef?
I’ve been cooking as long as I can remember, and have worked at a handful of bakeries. So no, this book does not represent an evolution in my culinary skills. That being said, this book is wonderful for those who don’t consider themselves to be natural cooks, or even those who don’t know how to cook at all!
When I was writing the book, my husband Tyler would edit it and do the recipe testing, pretending like he didn’t know a thing about cooking. He is actually great in the kitchen, but he’d force me to address issues I’d taken for granted. “What is a “roux”?” he’d ask. “How do you cut an avocado?”
He’d question everything to the point where I would get exasperated and say, “But EVERYONE knows how to cut an avocado!!” And of course, Tyler’s point was that not everyone knows about food. So, I’d re-write the recipe and make it more accessible for folks who have never cooked before.
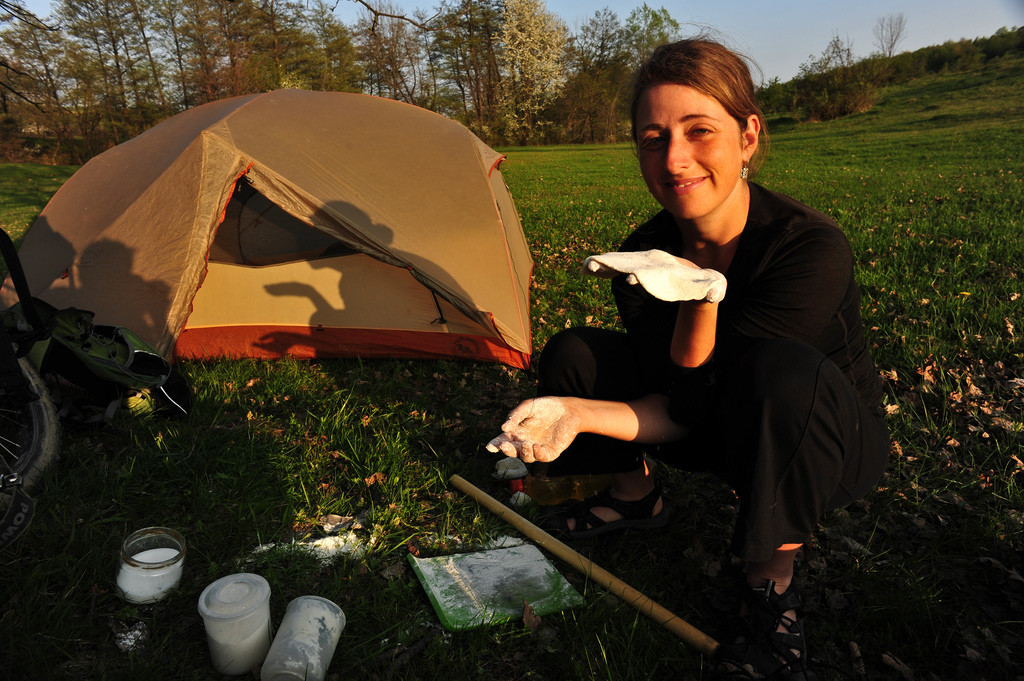
Tara wild camping and rolling out dough for dinner.
4. You highlight many foods, spices and tools in the book. If you could narrow it down to a list of Top 5 things you couldn’t do without, what would those be?
- The spice bag. I carry an ample number of spices along with me, each in their own little baggie, then stored in a larger plastic bag. With my spice bag at hand, I’m able to transform any strange ingredient I find into something palatable. I’m also able to add local spices to my collection as we travel.
- A non-stick pot & pan. I use them for everything, and they make cleaning a breeze. I once tried switching to stainless steel for a month or two, and washing dishes suddenly became a horrible nightmare. To make cooking on the road a worthwhile adventure, you really need to use non-stick.
- My camp stove. I cook everything over the rugged MSR Whisperlite. It gets crazy hot and it sure is noisy, but it’s the main workhorse in my camping kit.
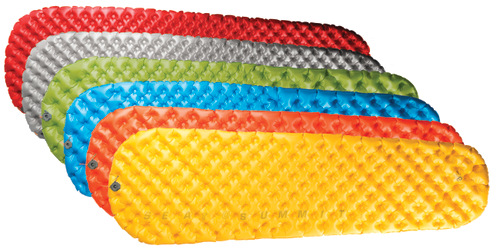
- Collapsible dishes. Sea to Summit makes a great set of collapsible silicone dishes. What I love about them is that the bottom of the bowl or plate doubles as a cutting board. Since I don’t generally have any kind of flat surface in my camp kitchen (no counter, picnic table, etc.), I rely on the hard surface for food preparation.
- A wooden spoon. I used to have a fancy set of camp cooking utensils, but they melted in the pan the first time I tried to use them with oil. You cannot go wrong with a simple wooden spoon! I bought mine at a grocery store years ago, and it’s still as sturdy as ever.
5. Can you share a favourite recipe with us?
Absolutely! Here’s my recipe for a simple but super-tasty granola you can make on the road:
This crunchy, caramelised, camp-friendly granola is extremely tasty, and far more exciting than its humble list of ingredients would seem to indicate. For more substance, add four tablespoons of nuts along with the oats and raisins. If you want to make more granola than the recipe calls for, make it in separate batches.
Cinnamon Raisin Granola (prep & cook time: 10 minutes; makes 1 cup)
2 tablespoons butter
2 tablespoons sugar
1 teaspoon cinnamon
A pinch of salt
12 tablespoons (3⁄4 cup) rolled oats
4 tablespoons (1⁄4 cup) raisins
First, get your ingredients ready: measure the butter, sugar, cinnamon, and salt into your large cooking pot.
-Measure the oats and raisins into a bowl and set aside.
-Now, get cooking: prime and light your stove, turning it to a low setting. Holding your pot an inch or two above the flame, stir the mixture together for a minute, or until it is completely melted and very bubbly.
-Dump in the oats and raisins, and stir continuously for about two minutes, or until the oats smell very toasted.
-Remove the pan from the heat—the granola will still look a bit damp at this point, but it will get crispier as it cools.
-Once cool, enjoy the granola with or without milk, or store it in a container to snack on later.
Tara’s Bike. Camp. Cook. cookbook is available from her website.
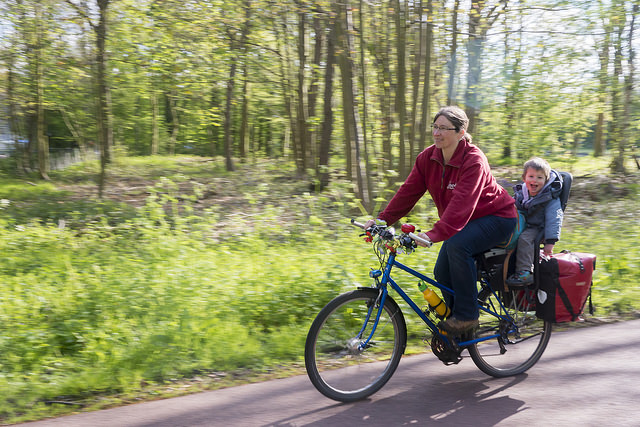
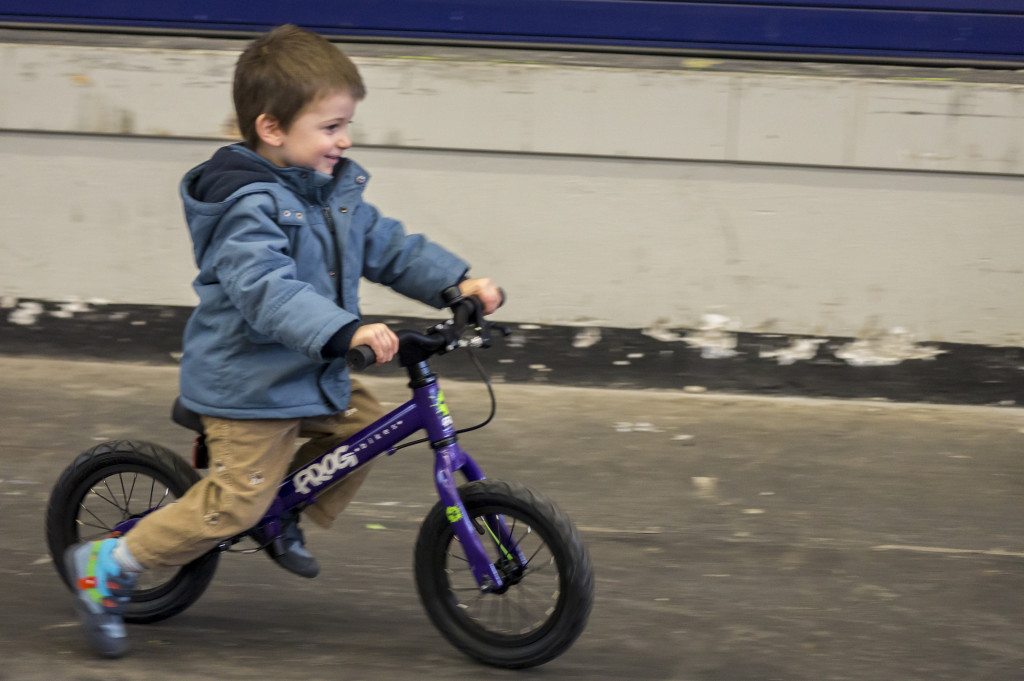
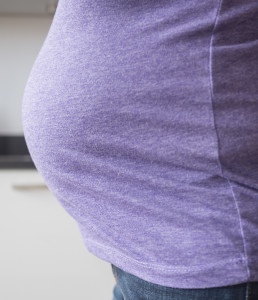 And it’s a good thing that we’ve settled happily into this slower routine because this year we’re likely to slow down even a bit more. TravellingTwo is expanding. Yes, that’s right — Luke is about to become a big brother early this summer.


%7Cutmccn%3D(direct)%7Cutmcmd%3D(none)%3B%2B__utmv%3D41727539.-%3B)